Low-Profile LED Lighting From PIAA
You’ve heard it before, and you’ve seen it on Driving Line: the invention of white LEDs (a derivative of blue LEDs, for which two guys won the Nobel Prize) has meant high-flying, tree-frying candlepower, which is now accessible to everyone. The necessary shape of LED lighting, however, means that installation often requires planning. Light placement is critical to get the illumination you need that doesn’t interfere with your off-road experience.
We had encountered a darkness that our existing candles couldn’t handle: big desert rocks and dunes. While not singularly challenging, the combination of an underpowered Toyota 4Runner with high sand necessitated running starts. We had been having a hard time seeing where we were going. Back at camp, we spelled out the requirements of our lighting needs:
- Lights powerful enough that we would never need more.
- Powerful lighting that wouldn't stress out the 20-year-old 4Runner’s electrical system.
- Low-profile lighting that wouldn't look excessive on a low-profile truck.
- Fitment that could be removed because, despite its awesomeness, this 4Runner would be occasionally left at the airport for a day or three.
- Quality lighting that, once built, wouldn't need repairs or replacement.
Powerful lighting meant HID, LED or large halogen-based bulbs. We ruled out halogens because of the draw they would require to be awesome. HIDs weren't an option due to their cost and the fact that most use a traditional round reflector, requiring high-profile installation that wouldn’t fit in the garage.
Modular placement? Construct a light bar that would let the lights mount on the removable factory 4Runner roof rack. Quality? We've had good fortune with PIAA lighting in the past; the company offers multiple-length LED bars that can be combined to make a fitted light bar (plus, it means buying from an American-manufactured brand and avoiding knockoff brands.
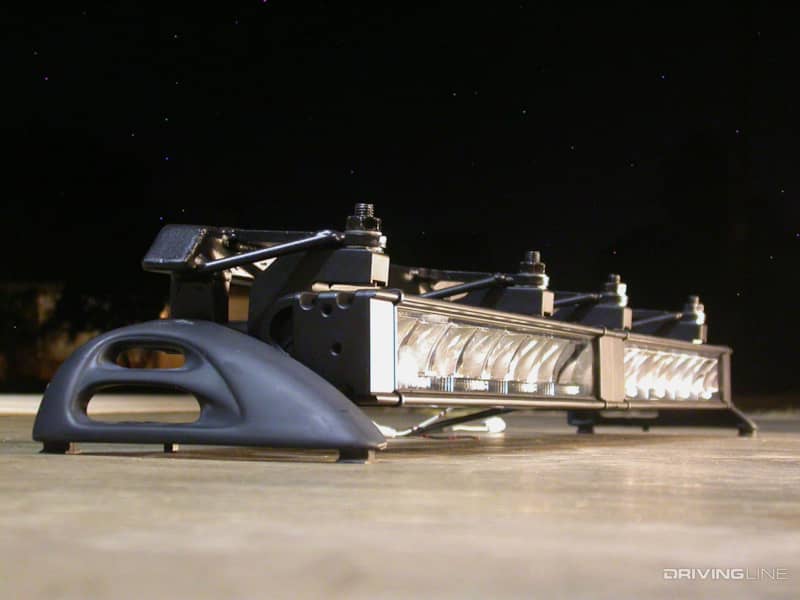
Using factory Toyota roof racks to support the fitment of big PIAA LEDs made for a low-profile installation that was powerful, subtle and removable.
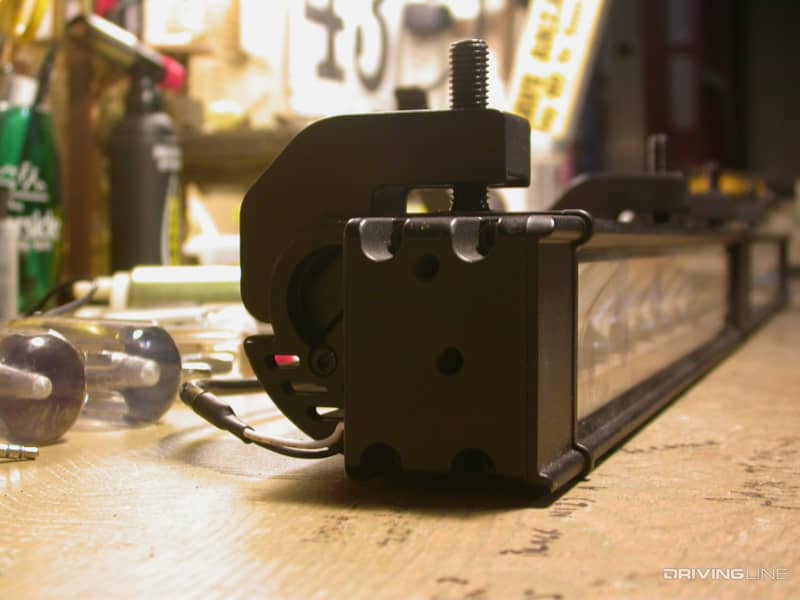
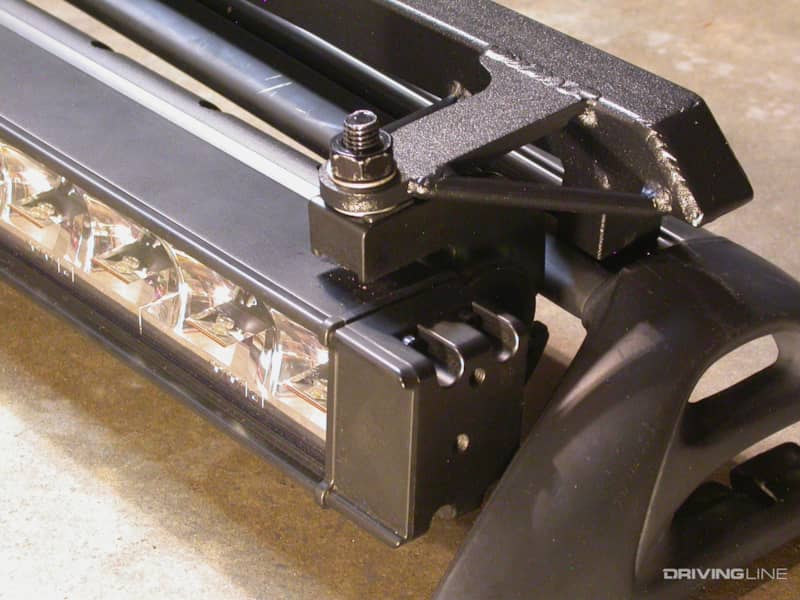
The PIAA RF18s are designed to accommodate several installation avenues, including bolting through the end-cap or with the highly adjustable multipoint 90-degree L-bracket pictured here.
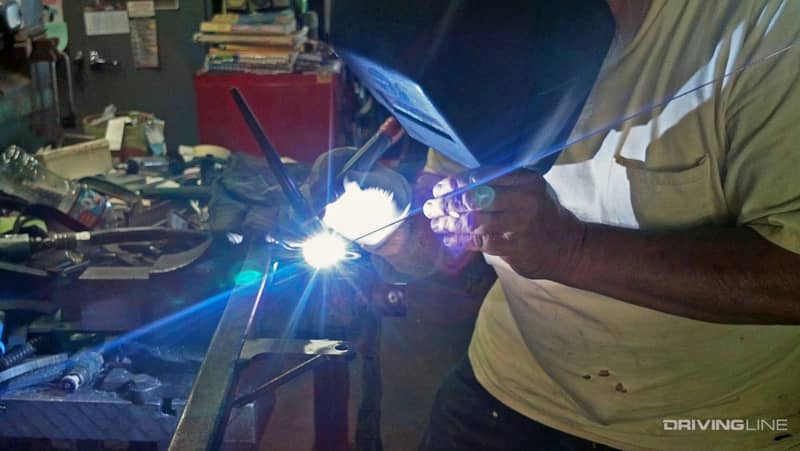
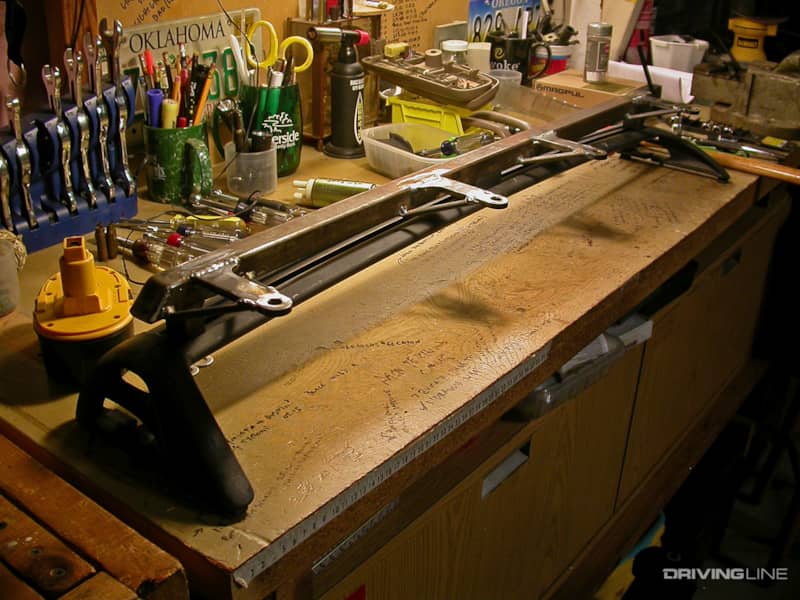
Fabrication genius Mark Fageol, the maker of Fageol Superchargers and a truckload of other cool bits, took a few minutes of his time to turn some steel scrap he had laying around into an excellent OE-adapted rack for the PIAA light bar.
We tested fitment of the Fageol-fabbed rack in the raw to ensure suitability before it went to Powder1 for coating. The oddly shaped tabs were supercharger pulley brackets in a previous life.
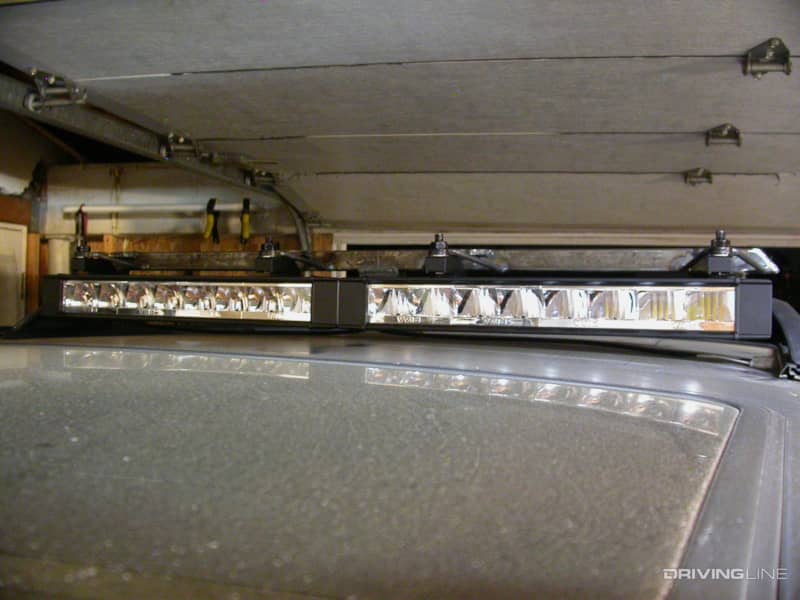
Once bolted in place, the PIAA LEDs hovered a centimeter from the roofline of the filthy 4Runner. Note that to use the PIAA bars with the OE brackets, we mounted them upside-down. Our friends at PIAA said this was cool, but might alter the light pattern slightly.
After we made certain the light bar wouldn't need any additional modifications, we sent it off to powder coat. Once back, we assembled the bar and found the PIAAs hang between the factory roof rack’s end-caps with about five millimeters to spare. Design options like this are possible because of the multiple PIAA bar sizes. Modular fitment makes builders happy.
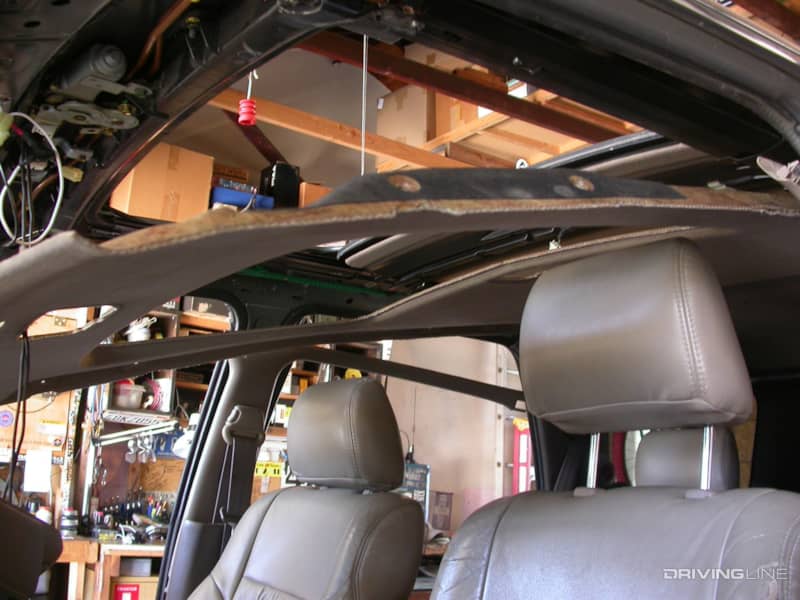
On the wiring side of this adventure, remember to disassemble a step further than necessary; you're less likely to break parts if you remove them first. The 4Runner’s one-piece roof liner is a prime example of this: we pulled at least five handholds just to get it to droop this far.
The Toyota’s roofline at the windshield has a boxed section that made a perfect place to park the PIAA-supplied harnesses. We filed down a number of sharp screws and sleeved every wire that could qualify as vulnerable. As the red power wire – stranded 12-gauge, shared by both PIAA harnesses – ran forward and down the A-pillar, the power lead for the driver’s side light bar was routed back between the header and the sunroof housing.
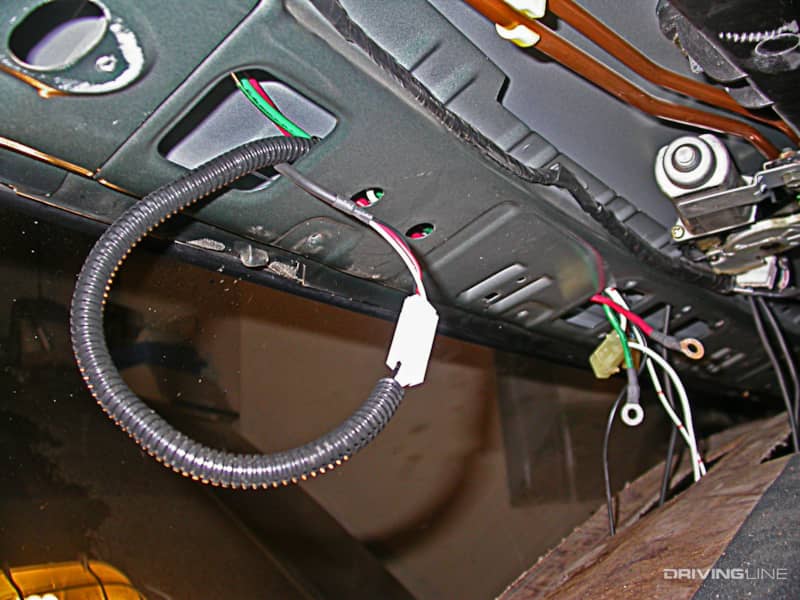
Both main leads – 12-volt power and the ground – were run back to the battery through the A-pillar (per PIAA’s preference for power at the battery), a simpler option than routing both harnesses that way separately.
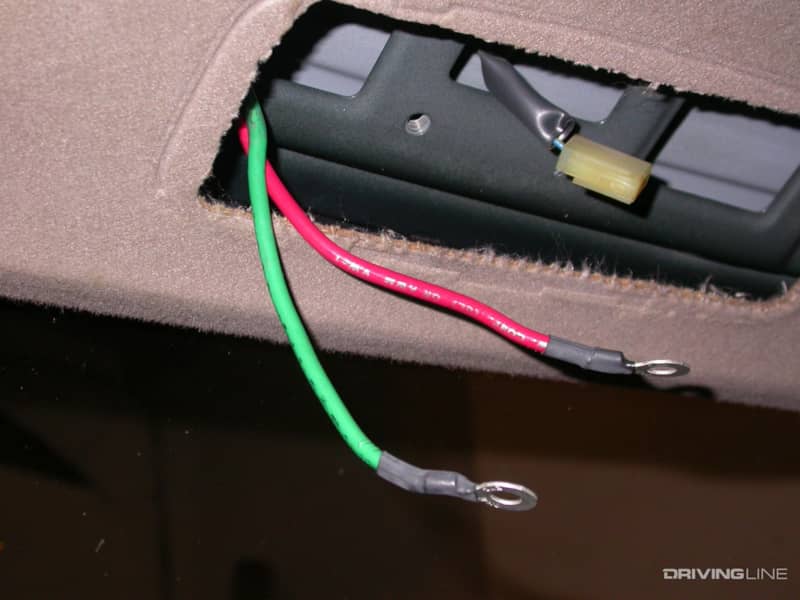
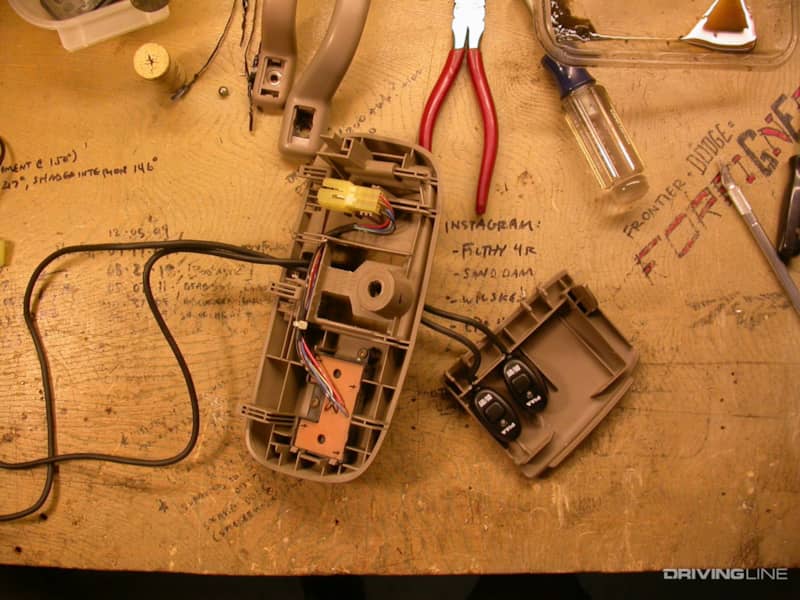
We used the useless drop-down hatch in the 4Runner’s moonroof header to hide the PIAA-supplied switches. With a little nibbling and routing, both lined up and were subsequently two-sided into place.
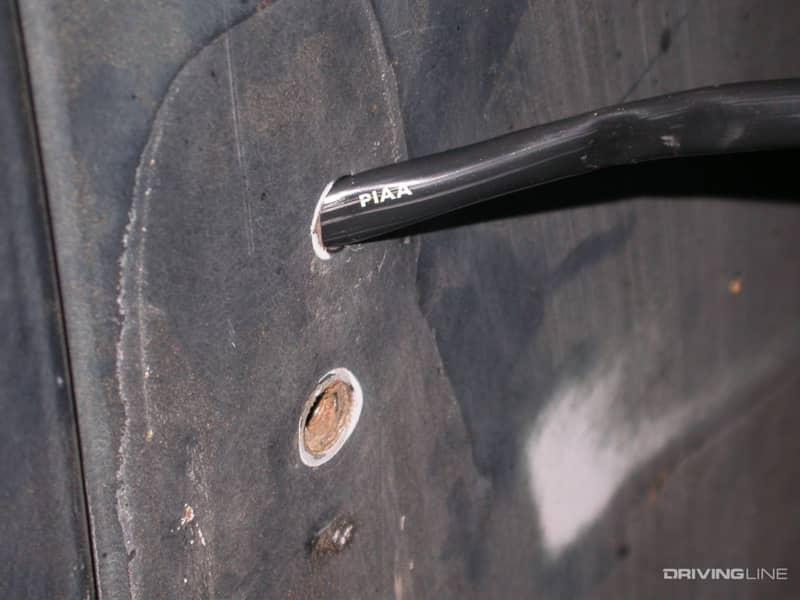
Using the factory rack-rail locating holes in the roof (which the rails didn’t miss), we slipped the PIAA LED power leads through, one to a side. The plugs had to come off. Because the PIAA leads are so long, they needed shortening; we had to clip and reconnect the plugs anyway.
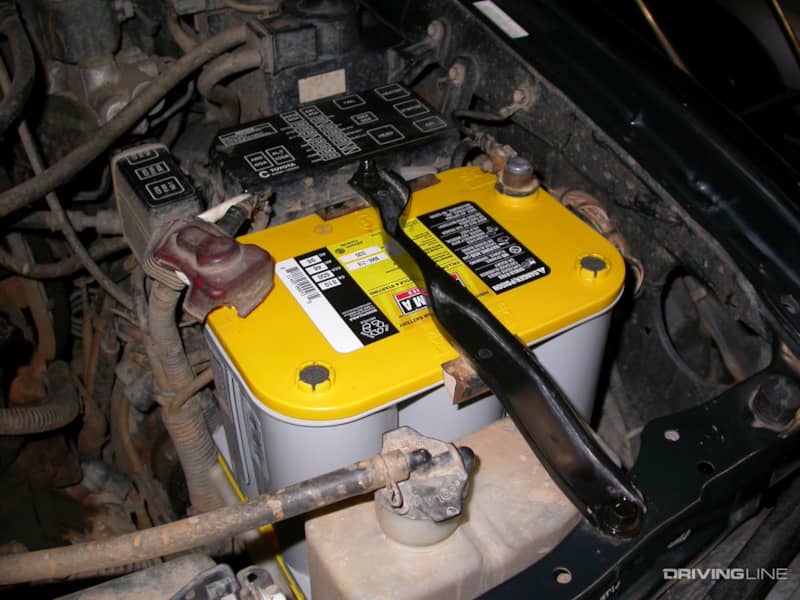
This Optima YellowTop Battery is great for powering high-draw electrical equipment on the trail. While LEDs have less amp-draw, a hard-working trail rig will still have a winch and compressor that needs driving. Don’t let a shallow battery strand you. (Learn about OPTIMA's Digital Battery Charger and Maintainer.)
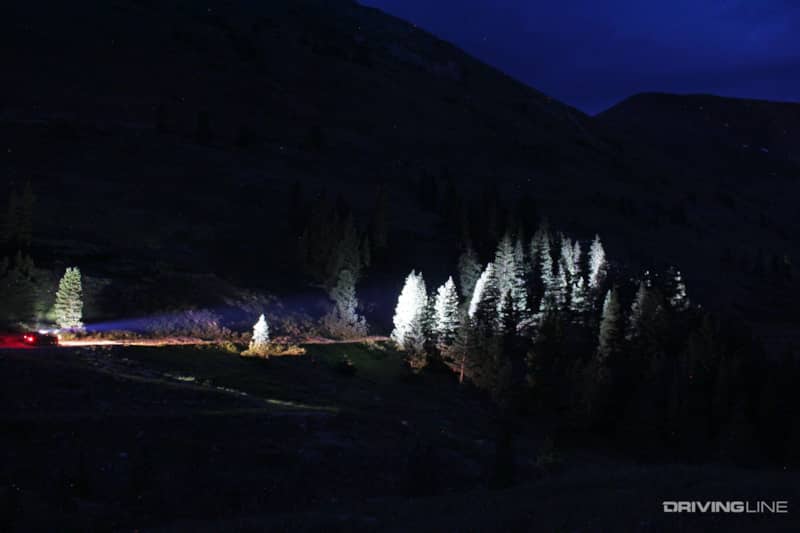
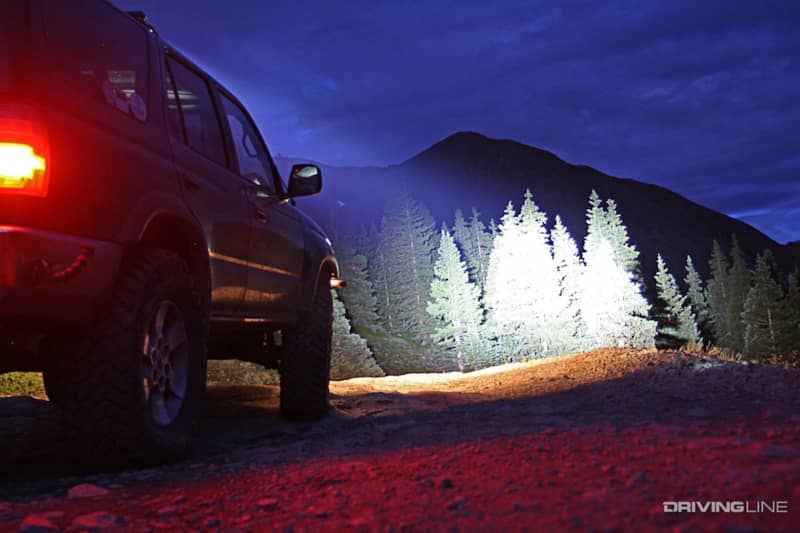
During a high-mountain run to one of Colorado’s better nooks, we hung out into the wee hours to do some night photography. Ironically, being 13,000 feet up in the middle of nowhere, we thought we were alone when several side-by-sides trolled a few of our photos dropping in off Cinnamon Pass. (Check out another Coloradon adventure we took our 4Runner on up Kendall Mountain).
(Photos: Majid Gol and Justin Fort)


