How to Vinyl Wrap a Vehicle
Vinyl wrapping has become a very popular trend in nearly all automotive scenes, particularly with imports. Between the vinyl protection and the ability to change the colors whenever you please, it's easy to see why people have really gravitated to this idea.
We recently visited AutoTuned Garage where owner Young Tea, also an Avery Dennison Certified Technician, dropped some much needed knowledge on the proper steps involved on how to vinyl wrap a vehicle, or parts for your vehicle.
Follow these steps and make sure to check out our tutorial video at the bottom:
1. Prep Your Surface.
Make sure all the parts of the car you're planning to apply vinyl to are cleaned beforehand; a clean surface will allow the material to stick better. You can use a simple mixture of 50% alcohol-50% water if your car is relatively clean.
2. Use 3M Adhesive Promoter When the Going Gets Tough.
For curves or other areas where it can be difficult for the material to stick, you can apply 3M adhesive promoter to those surfaces.
3. "Glass" the Overall Surface.
Lay the vinyl material as smoothly as you possibly can over the body panels/parts without wrinkling it, almost as if it looks like it's already done.
4. Squeegee.
Use a Squeegee to massage any wrinkles and air pockets out; for smaller parts, an Avery Dennison Lint Free Glove will do the job. After squeegeeing the surface, work slowly around the edges and out to the corners.
Young says it's best to think of wrapping the corners much like you would "wrap a present."
5. Wrap Everything, Even If You Can't See It.
Even though it won't be visible from the outside or when parts are installed on the car, Young advises to wrap all the way toward the backside to help hide any seams and cuts you've made along the way.
6. Hey, Cut... It... Out.
Now it's time to cut any remaining excess vinyl with a sharp razor blade. You might need to make a relief cut, which will be done in areas where there are curves causing tension on the vinyl. These relief cuts will help give the vinyl some extra movement without messing up any of the wrap that's already been done.
7. Post Heat the Vinyl.
Here's where things get hot, literally. Post heating the vinyl with a heat gun (at roughly 200º F) helps stretch the material in areas where they need to be stretched; this ensures the material doesn't lift, stretch or pull back once the part is reinstalled onto the car.
After post heating, take your squeegee or lint-free glove and massage the material again to make sure there are no more wrinkles remaining.
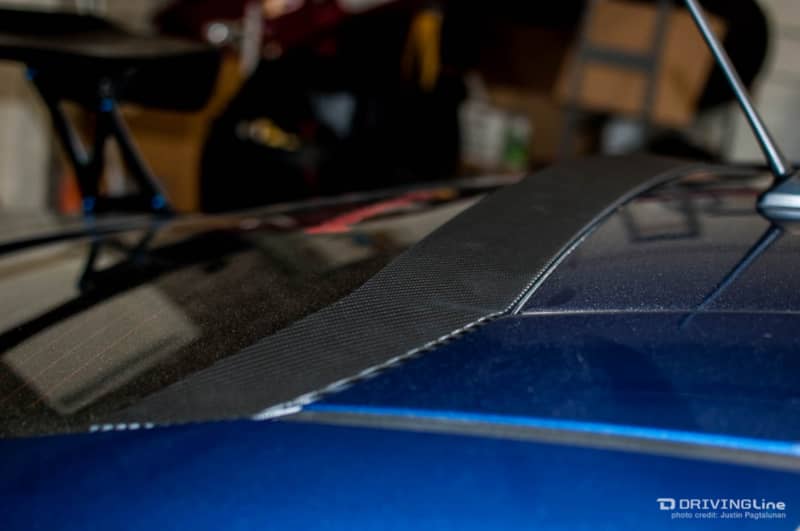
Now you'll be all set and the parts should be ready for re-installation – or as Young prefers to say, "It's a wrap!"
Watch our tutorial video below to see Young in wrapping action:
For a more challenging vehicle vinyl wrap, check out Carolina Tint's labor-intensive process of wrapping a Jeep Wrangler.


