How to Customize Your Ride With DIY LED Strip Lighting
LED strip lights are one of the cheapest and easiest mods you can do to customize your ride. Although I’m going to show you how I installed them in my Jeep, once you know how to install them, you can easily apply them to any car. They are bright enough for practical purposes, or you can use them to add some a certain vibe to your rid. The best thing about LED strip lights (besides the price) is that they can be cut to any length desired, which allows for creative lighting effects.
DISCLAIMER: Aftermarket interior lighting is prohibited in many U.S. states and counties. Be sure to check your local laws before adding lights to your vehicle.
The cabin of my Jeep is a dark pit at night, and I often found myself wishing it was little brighter while groping around trying to find something in the dark. Sure, I could always turn on the overhead dome light, but if I’m driving at night I don’t exactly want the entire interior lit up from overhead. I wanted subtle ambient lighting, so I decided to add LED strip lights to my center stack.
WHAT YOU NEED
Required Tools:
- Roll of LED strip lights
- Soldering iron with fine tip
- Fine gauge solder
- 16-18 gauge electrical wire (enough for your installation)
- Wire cutter/stripper
- Liquid electrical tape
- 9-volt battery for testing
- Flat head screwdriver or trim tool
Optional Tools, Depending on Your Situation:
- Drill
- 7 mm socket wrench/nut driver
- Multimeter
- In-line fuse holder and fuse
- Relay

You can buy a 5-meter roll of flexible LED strip lights for less than $10 on places like Amazon and eBay. They come in 12 volts and 24 volts. You want 12 volts if your car has a 12-volt battery (most do). The roll contains 300 lights, and they are typically available in white, red, yellow, green, blue and multicolored.
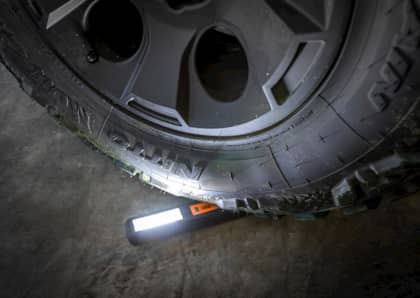
Red is popular with off-roaders because it doesn’t ruin night vision, but it wasn’t the look I wanted for the interior of my Jeep. White and yellow were too bright for my purpose, so I went with a cool blue to provide subtle ambient light. If you are going to install the lights on the exterior of your vehicle or down near the carpet on the interior, you should get the waterproof lights, but it’s not necessary for most interior installs.
The first thing you should do is test your lights to make sure they work before you start cutting and soldering. Touch the positive and negative leads from the strip lights to the corresponding posts on the 9-volt battery to make sure the lights are working.

Next, decide where you want to place the lights and how long the strip needs to be. The lights need to be cut in groups of three. My lights had soldering pads placed every 10 groups of three (every 30 lights), but I only wanted three strips of six lights. There was a bit of waste involved to make sure that each strip had a soldering pad, but the lights are so cheap that it’s no big deal. You will want to use the soldering pads because the wires running through the strips are tiny.

Paying careful attention to positive and negative/ground (marked on the strip), solder leads to each of your strips. You’ll need to have some patience for detail work and be careful not to use too much heat. After the solder joints have cooled, use the battery to test each strip again. If everything is working properly, use the liquid electrical tape to seal your solder joints. You could use standard electrical tape or heat shrink tubing, but the solder joints are so small that I found it much easier (albeit messier) to use the liquid electrical tape.

INSTALLING THE LIGHTS
To remove the center stack trim on a 2007 Jeep Wrangler, use the flathead screwdriver or trim tool to pry up the top section.

There are two hex screws securing the trim face at the top. Remove them, and then use the screwdriver or trim tool to pry off the trim piece, starting at the top and working your way down. Be careful of the wiring behind the trim.

I just needed to pull the top half out so I could reach behind to do my wiring. If you want to completely remove the trim, you will also need to pop out the bottom trim piece and remove the two screws at the bottom. This is a great time to clean out some of the dust that has accumulated from our many off-road trips!

I drilled three small holes in the trim piece for the wires to pass through. Since the lights would be facing downward, the holes aren’t visible. Then I started hooking up the wires behind the center stack before affixing the lights. This allowed me to once more test my wiring with the 9-volt battery to make sure that all lights were working before permanently mounting the lights to the trim.
There are several different ways to wire the lights to a power source. Since I wanted to be able to turn the lights on and off whenever I wanted, I wired mine to a switch on my Rugged Ridge A-pillar switch pod. Accessing the switch pod meant removing the sun visor, windshield trim and A-pillar.
Your exact wiring for your installation will depend on your specific vehicle, what electrical mods you may already have and when you want the lights to turn on and off.
If you don’t have a switch pod, other options include:
- wiring to your headlights so they come on anytime you turn your headlights on,
- wiring to a dimmer switch (in a Wrangler JK wiring to the orange wire with gray tracer will dim your LEDs with the other accessory lights),
- wiring to the dome light so they turn on when your dome light is on (the thin yellow wire with white tracer in a Wrangler JK)
- wiring to the cigarette lighter/accessory adapter (make sure to use one that is only hot when the car is running),
- wiring to the door switch if you want courtesy lights that turn on when a door is opened, and
- wiring directly to the battery.

After verifying that all wiring was done properly and the lights were working, I mounted the lights to the center stack trim. The lights have an adhesive backing. Make sure to clean the surface before removing the backing and placing the lights in the final position. Tidy up your wiring and replace the center stack trim in the reverse order in which you removed it.
Now flip the switch and enjoy your new custom lighting!

The lights are much brighter than I thought they would be. I used three strips of six lights, and as soon as I saw them in the dark I realized that half that number would've served my purpose.
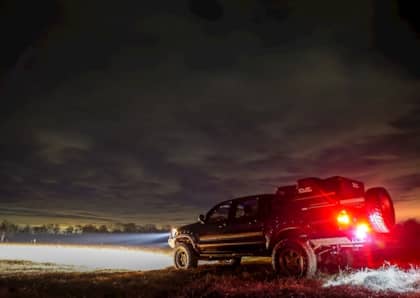
This mod is so easy and cheap that you may find yourself wanting to place lights all over your vehicle, especially if you participate in car shows. Some of the most popular ways to use them are under the dash in the foot wells, under-seat lighting in the rear passenger compartment, as rock lights for night ‘wheeling on a Jeep, or to provide underglow for any vehicle. If underglow alone isn’t showy enough for you, use your imagination. You could light the interior bed of a pickup truck, add lighting under your hood, line your rims or light up your ride for the holidays.